How to Brine Chicken for Maximum Flavor and Juiciness
I love cooking chicken, and I’ve always wanted it to taste amazing. Then, I found out about brining. Brining chicken makes it incredibly juicy and flavorful. Once you try it, you’ll never go back to dry chicken again.
Brining is easy. You just soak your chicken in a saltwater mix. This method flavors the meat both inside and out. It also keeps the chicken moist, making it tender and juicy, even when it’s fully cooked.
In this guide, I’ll teach you how to brine chicken for the best taste and juiciness. You’ll learn how to make your chicken dishes amazing. Get ready to improve your cooking and impress everyone with your juicy chicken!
Table of Contents
Understanding the Science Behind Brining
Brining your chicken is more than just a simple soak in a saltwater solution. It’s a complex scientific process that changes the texture and flavor of the meat. By understanding brining, you can make your chicken dishes even better.
How Salt Penetrates the Meat
The secret to brining success is osmosis. When chicken is in a brine solution, salt slowly moves into the meat. This happens because water naturally moves from areas with less salt (the chicken) to areas with more salt (the brine).
The Role of Moisture Retention
As salt enters the chicken, it changes the proteins. This makes the meat absorb and keep more moisture while cooking. The result is juicier, more tender chicken that stays moist.
Chemical Changes During Brining
Brining also changes the chicken’s chemistry. Salt makes proteins more flexible, and water molecules get into the meat’s cells. These changes make the meat tender and less likely to dry out when overcooked.
By grasping the science of brining, you can take your chicken dishes to new levels of flavor and juiciness. With a bit of time and the right brine, you can unlock the full potential of this versatile ingredient.
Essential Brine Ingredients for Perfect Chicken
Brining your chicken is the secret to moist, flavorful, and juicy results. A perfect brine has water, salt, and special ingredients. Let’s look at the key ingredients that make your chicken a masterpiece.
The base of a brine is water and salt. Combine 4 cups of cold water with 6 tablespoons of kosher salt. This mix tenderizes the meat, keeps it moist, and adds flavor.
To make the brine taste better, add aromatic ingredients. Try peppercorns, crushed garlic, and fresh herbs like rosemary and thyme. These add a rich flavor to your chicken.
For a quick brine, mix 1/2 liter of water, 5 tablespoons of kosher salt, and fresh herbs. Add 4 large smashed garlic cloves. This brine works fast, perfect when you’re short on time.
Finding the right mix of ingredients is key. Try different combinations to find the perfect brine for your chicken. This will make your chicken taste amazing and tender.
| Ingredient | Quantity | Purpose |
|---|---|---|
| Cold Water | 4 cups | Base for the brine |
| Diamond Crystal Kosher Salt | 6 tablespoons | Tenderizes the meat, enhances moisture retention, and adds flavor |
| Peppercorns | 1-2 teaspoons | Adds warmth and complexity to the brine |
| Crushed Garlic | 4 cloves | Infuses the chicken with savory garlic notes |
| Fresh Herbs (rosemary, thyme, sage) | 1-2 sprigs of each | Adds layers of herbal flavors |
| Bay Leaves | 2-3 leaves | Contributes earthy, slightly minty notes |
| Whole Cloves | 4-5 cloves | Enhances the brine’s warmth and depth |
Mastering brine ingredients will make your chicken dishes amazing. Try new things and enjoy the flavors brining brings.
The Perfect Brine Solution Ratio
Getting the right brine ratio is key to making your chicken juicy and full of flavor. The usual advice is to use 1 tablespoon of salt for every cup of water. This makes a 3% salt solution that breaks down meat proteins well. It keeps your chicken moist and lets it soak up all the seasonings.
Salt Types and Measurements
You can pick from kosher salt, sea salt, or canning salt for your brine. It’s important to measure the salt correctly to avoid a too salty or spongy texture. For a whole chicken, you’ll need about 1 cup of salt in 4 cups of water. Smaller pieces like breasts or thighs might only need a quarter of that.
Water Temperature Guidelines
The water temperature in your brine is also important. Use cold tap water to keep your chicken moist and tender. Warm water can make the chicken dry and less juicy.
Optional Flavor Enhancers
Want to add more flavor to your brine? Try citrus fruits, fresh herbs, garlic cloves, and peppercorns. For an extra kick, add 1 tablespoon of garlic granules to the mix.
“Brining poultry helps it retain more moisture during cooking, with poultry typically losing about 20% of its weight in water as it cooks.”
Mastering the perfect brine ratio and using the right ingredients will make your chicken the most juicy and flavorful dish your family and friends have ever had.
How to Brine Chicken: Step-by-Step Guide
Brining chicken keeps it juicy and enhances its flavor. By soaking the chicken in a brine, you turn ordinary meat into a culinary masterpiece. Follow this guide to learn how to brine brine chicken and improve your cooking.
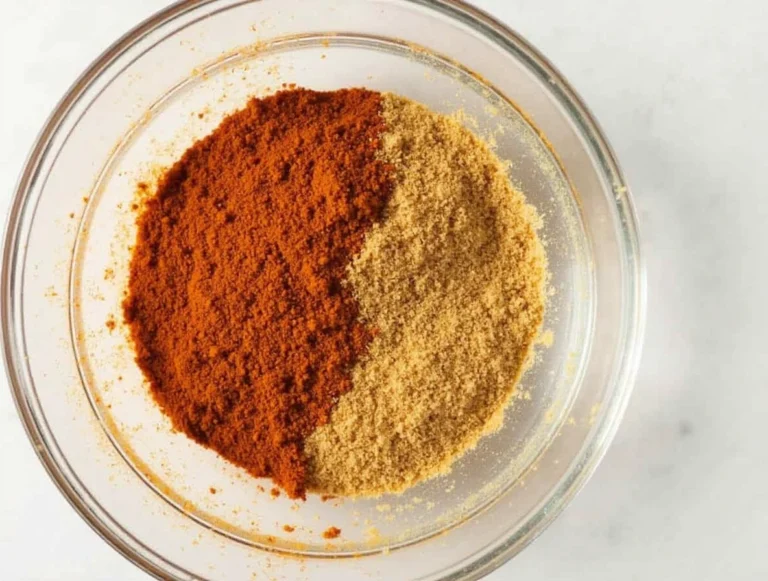
- Dissolve the brine ingredients: Mix ½ cup of sugar, ½ cup of kosher salt, 2 tablespoons of paprika, 2 tablespoons of cayenne powder, 2 tablespoons of garlic powder, 2 tablespoons of onion powder, and 2 teaspoons of black pepper with 16 cups of warm water. Stir until everything dissolves.
- Cool the brine solution: Add cold water or ice to lower the brine’s temperature to 40°F (4°C). This step stops bacteria from growing.
- Prepare the chicken: Put a 4-pound whole chicken, cut into 10 pieces, in the brine. Ensure the meat is completely submerged.
- Brine the chicken: Cover the container and refrigerate the chicken in the brine for 2-3 hours for bone-in pieces or 30 minutes to 1 hour for boneless breasts.
- Remove and rinse the chicken: Take the chicken out of the brine, rinse it lightly under cold water, and pat it dry with paper towels. For crispy skin, let the chicken air dry in the refrigerator for 30 minutes to an hour before cooking.
Now that your chicken brine recipe is ready, you can cook your brined chicken. You can roast, grill, or fry it. The brining process makes the chicken moist, flavorful, and perfectly seasoned.
“Brining is the secret to juicy, tender, and well-seasoned chicken every time. It’s a game-changer in the kitchen!”
Optimal Brining Times for Different Cuts
Brining chicken can take different times based on the cut. Knowing the right brining times for each part is key. It helps achieve the perfect flavor and texture.
Whole Chicken Brining Duration
Brining a whole chicken takes the longest, usually 8 to 12 hours. This long time lets the salt and flavors deeply soak into the meat. It makes the chicken tender and packed with flavor.
Breast and Thigh Timing
Boneless, skinless chicken breasts need only 1 to 2 hours in the brine. But, bone-in chicken thighs and drumsticks do better with 2 to 4 hours.
Quick Brine Methods
For a quick brine, brine the chicken at room temperature for 15 to 30 minutes. This method uses more salt for fast results. But, be careful not to brine too long, as it can make the meat too salty and soggy.
Most chicken brining works best between 30 minutes to 1 hour. This time balances flavor, moisture, and texture well. Adjusting the brining time for each chicken cut is essential to get the best results.
Flavor-Boosting Aromatics and Seasonings
Brining chicken becomes magical when you add special aromatics and seasonings. These ingredients turn a simple brine into a feast for your taste buds. Your chicken will taste like a culinary dream.
Garlic is a favorite in brines. Its strong flavor mixes well with the brine’s saltiness. Onions and peppercorns add a subtle depth. Meanwhile, bay leaves and fresh herbs like rosemary, thyme, and sage bring a fresh, herbaceous taste.
For a zesty twist, add citrus fruits like lemons or oranges. Their acidity and sweetness balance the brine’s saltiness.This adds depth and complexity to the flavor.
Feel adventurous? Try adding apple cider, honey, or brown sugar to your brine. These sweeteners mix with savory flavors in a delightful way.
To get the most flavor from your brine, find the right mix of ingredients. Begin with small amounts and adjust to taste along the way. Adjust until it tastes just right. Remember, shorter brining times might mean less flavor from your aromatics, so adjust your time accordingly.
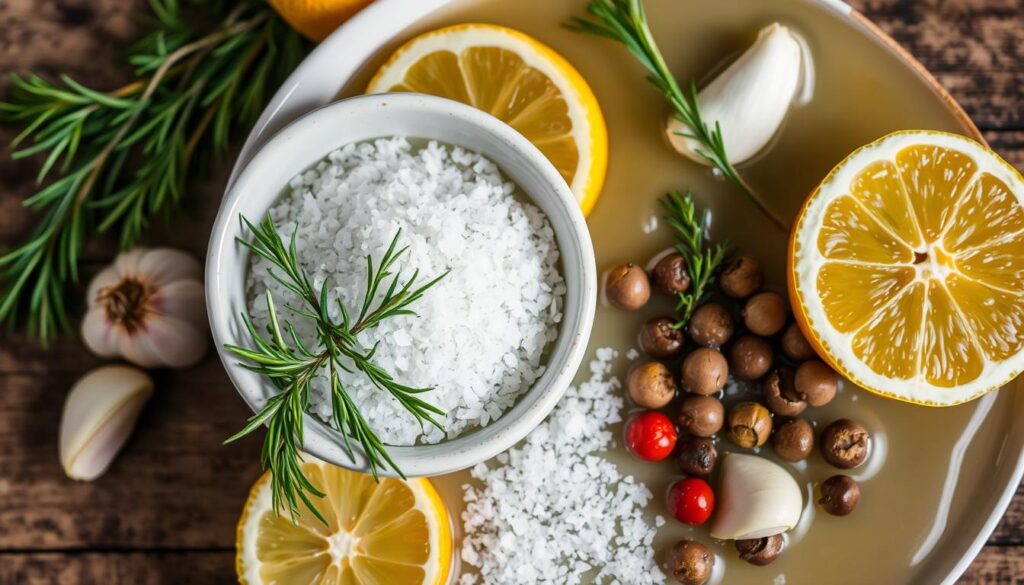
The key to a perfectly seasoned brined chicken is achieving a delicate balance of flavors. Every ingredient contributes to crafting a dish that will have your guests coming back for more.
Common Brining Mistakes to Avoid
Brining makes chicken juicy and flavorful. But, there are mistakes to avoid for perfect results. Let’s look at the most common errors when brining brine chicken.
Over-brining Issues
One big mistake is over-brining. Soaking chicken too long makes it salty and spongy. Stick to the recommended brining times: 8-12 hours for whole chickens and 2-6 hours for cuts. Brine tips also suggest using 1 cup of kosher salt per gallon of water.
Temperature Control Problems
Keeping the brine cold is key. It should be below 40°F to avoid bacteria. Don’t let the brine get warm, as this can be unsafe.Additionally, be sure to rinse the chicken thoroughly after brining to remove any excess salt.
- Avoid over-brining, which can lead to overly salty and spongy meat.
- Use the correct salt-to-water ratio in your brine solution.
- Make sure to keep the brine cold to avoid bacterial growth.
- Don’t reuse brine, as it can become contaminated.
- Limit the amount of sugar, as it can burn during cooking.
- Thaw frozen chicken before brining, don’t brine frozen meat.
- Rinse the chicken after brining to remove excess surface salt.
Best Cooking Methods for Brined Chicken
Brined chicken is a versatile protein that can be prepared in many ways. You can roast, grill, or pan-fry it. The key is to not add extra salt, as the brine has already seasoned it perfectly.
For whole chickens, try spatchcocking. This means removing the backbone and flattening the bird. It ensures even cooking and lets the brine’s flavors shine. Roasting brined chicken cooks faster, so watch the internal temperature to avoid overcooking.
Air frying is also great for brined chicken. It gives a crispy skin and keeps the inside juicy. Just follow your air fryer’s instructions and adjust the cooking time as needed.
| Cooking Method | Recommended Brining Time | Key Benefits |
|---|---|---|
| Roasting | 8-24 hours for whole chickens | Even cooking, enhanced flavors |
| Grilling | 4 hours for bone-in, 2 hours for boneless | Charred exterior, juicy interior |
| Pan-frying | 30-60 minutes for chicken breasts | Crispy skin, tender meat |
| Air Frying | Varies based on recipe | Crispy skin, moist interior |
Choosing the right cooking method is key to successful brine chicken. Follow the recommended brining times and keep an eye on the internal temperature. With the right technique, you’ll make a dish that everyone will love.

Storage and Food Safety Guidelines
Keeping your brine chicken safe is very important. Always store it in the fridge at 40°F (4°C) or colder. If you brine at room temperature, do it for no more than 30 minutes to avoid bacteria.
After you’re done, throw away the brine. Never use it again.
Proper Temperature Control
It’s crucial to keep your brine chicken and brine at the right temperature. Refrigeration is a must to prevent spoilage and foodborne illnesses. Always check the temperature and adjust it to stay at 40°F (4°C) or below.
Maximum Storage Duration
Brined chicken can stay in the fridge for up to 2 days before cooking. For longer storage, the freezer is best.When frozen correctly, it can last for up to 6 months. Always cook it to 165°F (74°C) before eating.
| Storage Method | Maximum Storage Duration |
|---|---|
| Refrigerator (40°F/4°C or below) | 2 days |
| Freezer (0°F/-18°C or below) | 6 months |
By following these brine tips, you can enjoy your brined chicken’s full flavor and juiciness. Remember, proper handling and storage are key to a delicious and safe meal.
Why You Should Brine Chicken Every Time
Brining your chicken brings many benefits to your cooking. It makes the meat juicy and tender. It also adds flavor that spreads throughout the dish.
This is especially good for lean cuts like chicken breasts. Without brining, they can become dry and tasteless.
Brined chicken is also easier to cook. It works well for grilling, roasting, or pan-searing. The brine helps keep the chicken moist and full of flavor.
Brining chicken is a simple step that makes a big difference. It keeps the meat moist and adds flavor. Try it to make your chicken dishes better.


