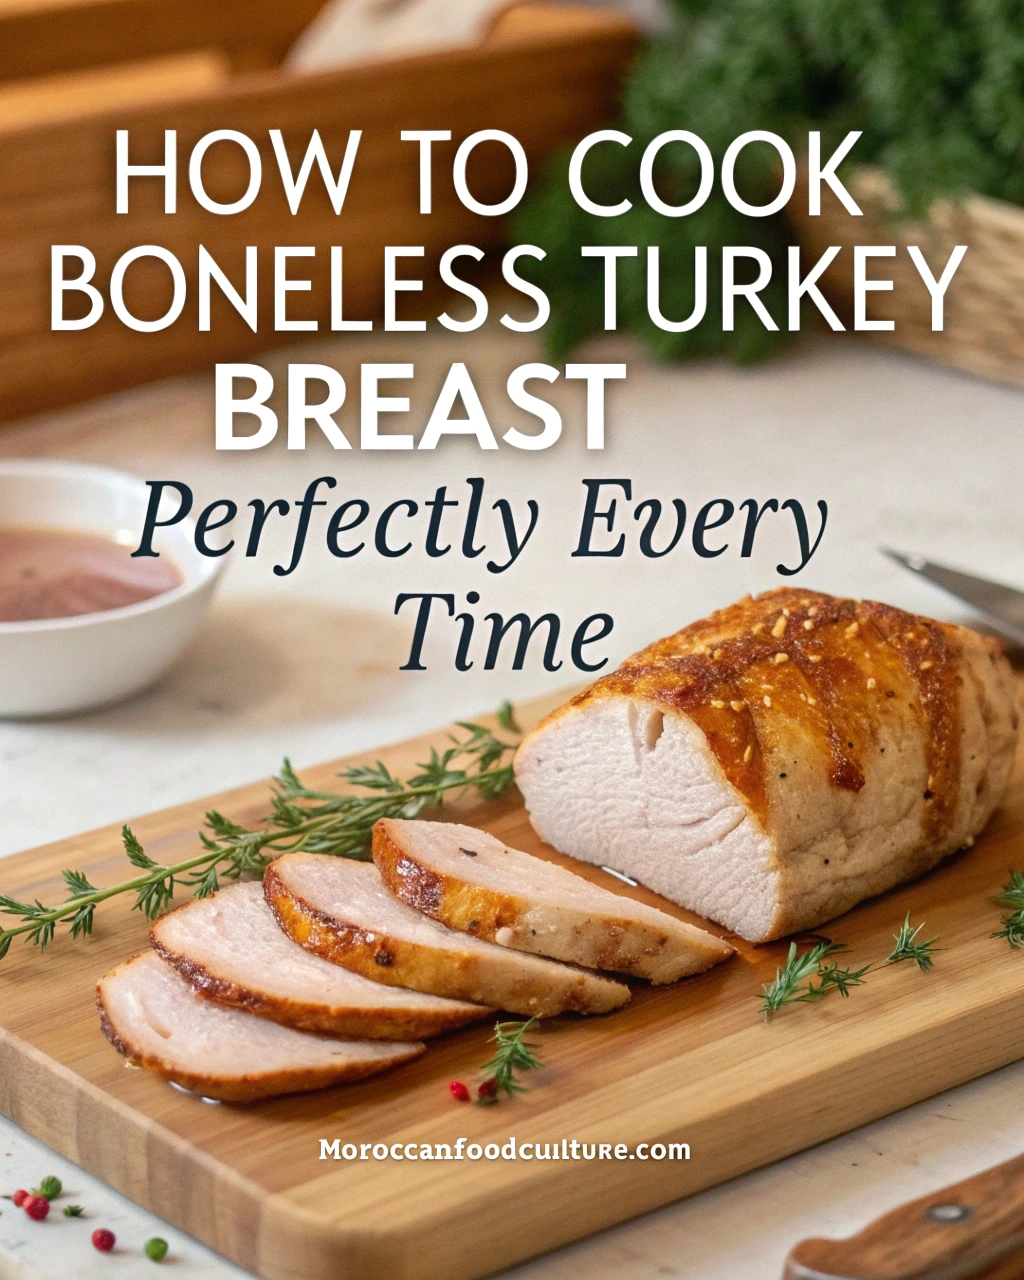
How to Cook Boneless Turkey Breast Perfectly Every Time
Boneless turkey breast is a fantastic choice for a delicious, lean, and protein-packed meal. Whether you’re preparing it for a holiday gathering, a Sunday dinner, or meal prep, cooking it perfectly every time requires the right techniques. The biggest challenge? Avoiding dryness while achieving a flavorful, juicy bite.
In this guide, you’ll discover the best ways to prepare, cook, and serve boneless turkey breast, ensuring restaurant-quality results at home.
Table of Contents
Why Boneless Turkey Breast?
Boneless turkey breast is a perfect substitute for a whole turkey. Here’s why home cooks love it:
✅ Faster Cooking Time – Without bones, the meat cooks more quickly and evenly.
✅ Easier to Slice – No bones mean effortless carving and serving.
✅ Great for Meal Prep – Leftovers can be used for sandwiches, salads, and wraps.
✅ Healthier Option – Lean and packed with protein, it’s perfect for a balanced diet.
If you’ve ever struggled with dry turkey, don’t worry—we’ll show you how to keep it juicy and flavorful every time!
How to Choose the Best Boneless Turkey Breast
Selecting the right turkey breast is the first step toward a delicious meal.
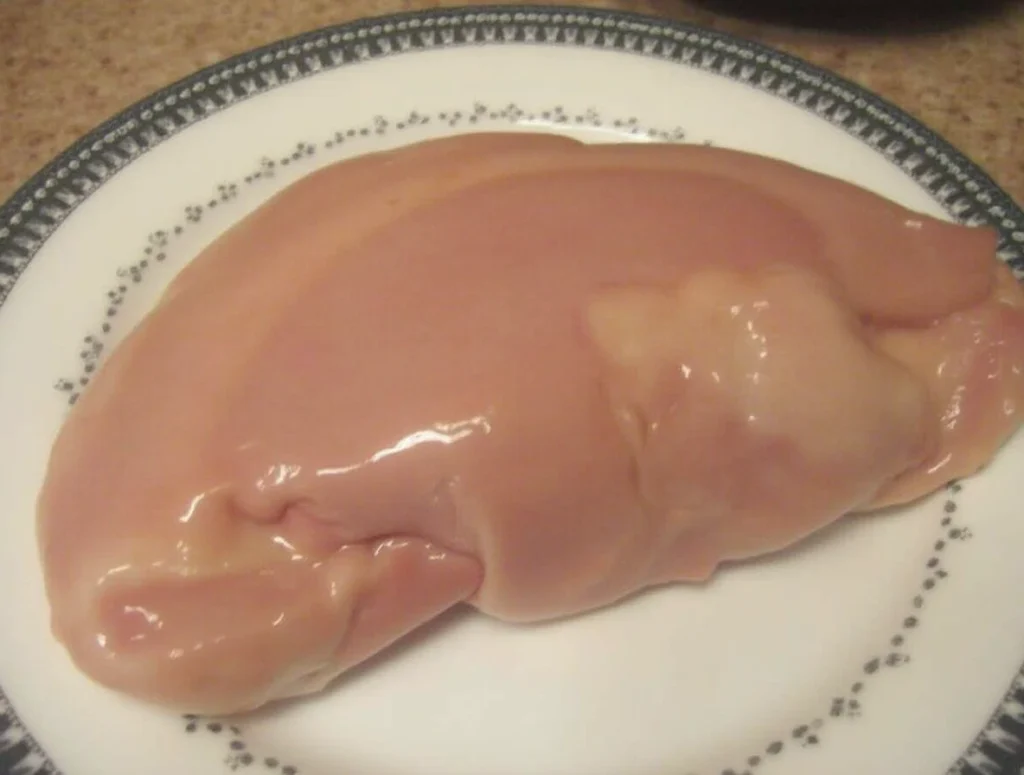
Fresh vs. Frozen Turkey Breast
- Fresh: Best for immediate cooking. Check the sell-by date and ensure it has no off smell.
- Frozen: More convenient but requires proper thawing. Look for well-sealed packaging without ice crystals.
How Much Turkey Do You Need?
Use this quick guide to determine the right portion size:
| Turkey Breast Weight | Servings |
|---|---|
| 2 lbs | 2-4 people |
| 3-4 lbs | 4-6 people |
| 5+ lbs | 6+ people |
Preparing Boneless Turkey Breast for Cooking
Proper prep enhances both flavor and tenderness.
Thawing the Right Way
- Refrigerator Method (Best): Allow 24 hours per 4 pounds of turkey breast.
- Cold Water Method: Submerge in cold water, refreshing it every 30 minutes. Takes approximately 2-3 hours for every 4 lbs.
Brining: The Secret to Juicy Turkey
A simple brine can prevent dryness and add flavor.
Basic Turkey Brine Recipe
- 4 cups water
- ¼ cup salt
- 2 tbsp sugar
- 1 tbsp black peppercorns
- 2 bay leaves
Soak the turkey breast in the brine for 4-12 hours in the fridge. Rinse and pat dry before cooking.
Seasoning Options
You can go simple or bold with your seasonings. Try these ideas:
- Classic: Salt, pepper, garlic powder, and paprika
- Herb Butter: Fresh rosemary, thyme, and sage with butter
- Spicy: Cayenne, smoked paprika, and chili powder
Best Cooking Methods for Boneless Turkey Breast
Each cooking method has its advantages. Choose one based on your time and preferred texture.
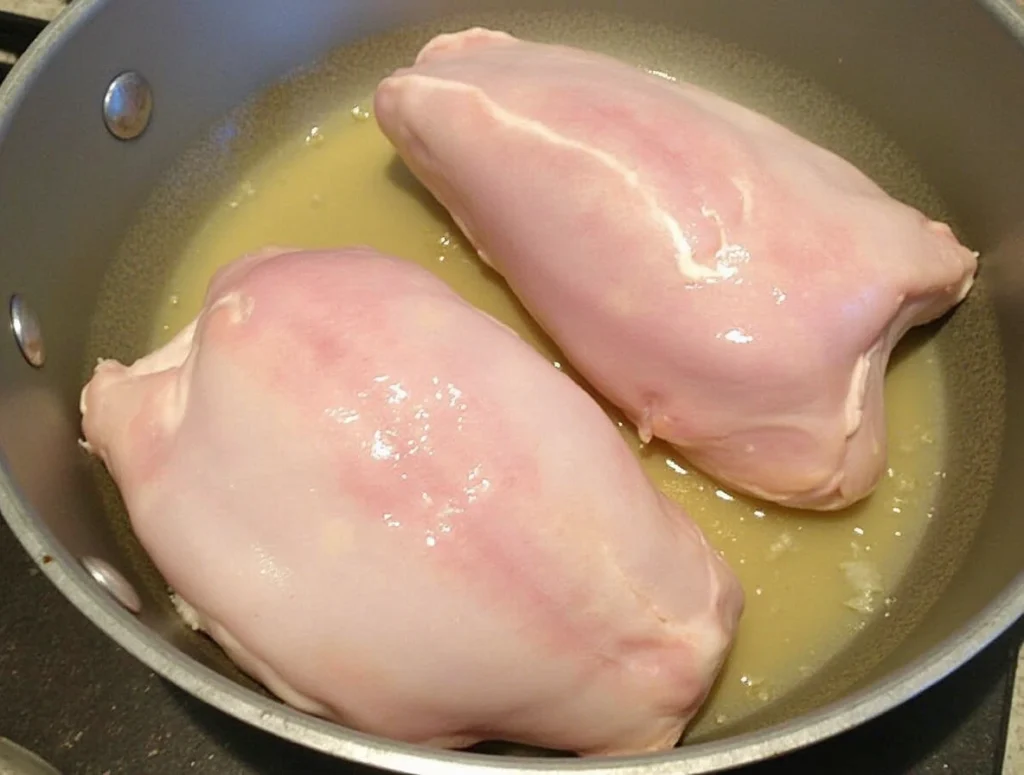
1. Roasting in the Oven (Best for Traditional Flavor)
Roasting is a foolproof method that delivers crisp skin and juicy meat.
How to Roast Turkey Breast:
- Preheat oven to 350°F (175°C).
- Season the turkey generously with your chosen spices.
- Place in a roasting pan with a rack to allow even airflow.
- Cover loosely with foil for the first half of cooking to retain moisture.
- Cook according to this timing:
| Weight | Cooking Time (350°F) |
|---|---|
| 2 lbs | 45-55 minutes |
| 3-4 lbs | 60-90 minutes |
| 5+ lbs | 90-120 minutes |
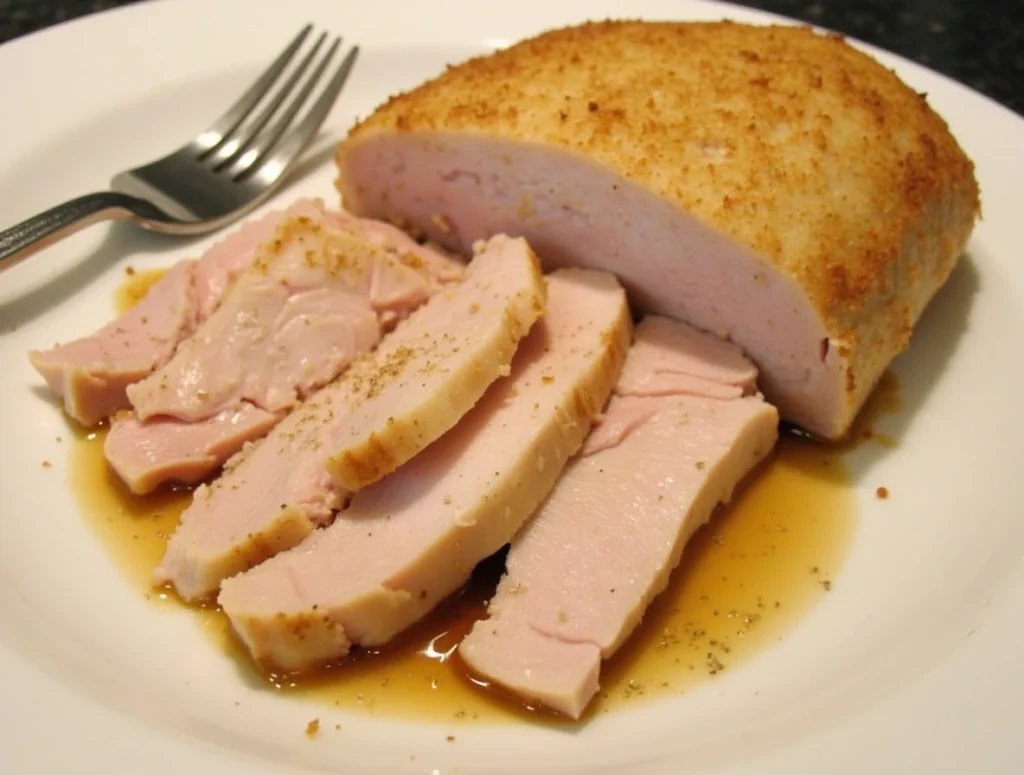
- Remove foil in the last 15-20 minutes for a crispy golden crust.
- Check internal temperature – it should reach 165°F (74°C).
Pro Tip: Let the turkey rest for 10-15 minutes before slicing. This keeps the juices locked in!
2. Slow Cooker Turkey Breast (Best for Hands-Off Cooking)
Slow cooking guarantees tender, pull-apart turkey.
- Place turkey breast in the slow cooker.
- Add aromatics like garlic, onions, and herbs.
- Pour in 1 cup of broth to keep the turkey moist.
- Cook on LOW for 5-6 hours or HIGH for 3-4 hours.
- Check the internal temperature (165°F) before serving.
Pro Tip: Broil the turkey for 5 minutes after slow cooking for crispy skin.
3. Air Fryer Turkey Breast (Best for a Quick, Crispy Finish)
Want crispy skin in less time? The air fryer is the way to go.
- Preheat air fryer to 350°F.
- Rub turkey breast with oil and seasonings.
- Place in the air fryer basket and cook for 40-50 minutes, flipping halfway.
- Check the temperature and let it rest before slicing.
Serving and Side Dishes
Pair your perfectly cooked turkey breast with these delicious sides:
🥔 Mashed Potatoes – Classic and comforting.
🌽 Roasted Vegetables – Brussels sprouts, carrots, or green beans.
🫐 Cranberry Sauce – The perfect balance of sweet and tangy.
🍞 Stuffing or Dinner Rolls – For a filling meal.
Storing and Reheating Leftovers
Turkey breast makes fantastic leftovers! Here’s how to store and reheat properly:
Storage Tips
- Fridge: Store slices in an airtight container for up to 4 days.
- Freezer: Freeze in portions for up to 3 months.
Best Ways to Reheat
- Oven (Best): Heat at 300°F with a bit of broth for 15 minutes.
- Stovetop: Heat slices in a skillet over low heat with butter.
- Microwave: Cover with a damp paper towel and heat in 30-second intervals.
FAQs: Cooking Boneless Turkey Breast
1. Should I cook boneless turkey breast covered or uncovered?
Start covered with foil to keep it moist, then uncover it during the last 15-20 minutes for crispiness.
2. How can I prevent boneless turkey breast from drying out?
- Brine the turkey before cooking.
- Baste with butter while roasting.
- Don’t overcook—use a meat thermometer.
3. Can I cook frozen boneless turkey breast?
Yes! Add 50% extra time and check the temperature carefully.
4. What’s the best temperature for roasting turkey breast?
350°F (175°C) is ideal for even cooking without drying out the meat.
5. How do I know when turkey breast is done?
Use a meat thermometer. It should read 165°F (74°C) in the thickest part.
Final Thoughts
Cooking a boneless turkey breast perfectly every time is easy when you follow the right steps. Whether you roast, slow-cook, or air-fry, you’ll end up with a moist, flavorful, and satisfying meal.
Now it’s time to put your new skills to the test! Which method will you try first? Let us know in the comments!
Have you given our recipe a try?
There are no reviews yet. Be the first one to write one.